How to Use Image to Image AI with a Reference Photo
Learn how to guide AI image generation with a reference photo, write focused prompts, and control what changes and what stays.
Image-to-image generation starts with a picture and uses your instruction to transform it. The reference supplies visual information; the prompt explains the direction of change. This makes it useful for restyling a scene, exploring a product concept, turning a sketch into a polished image, or making a controlled variation.
This guide shows how to choose a reference, describe the change, and review the result. The examples in the image-to-image tool include style changes, product and interior variations, object removal, sketch rendering and restoration. Results depend on the source, prompt and model.
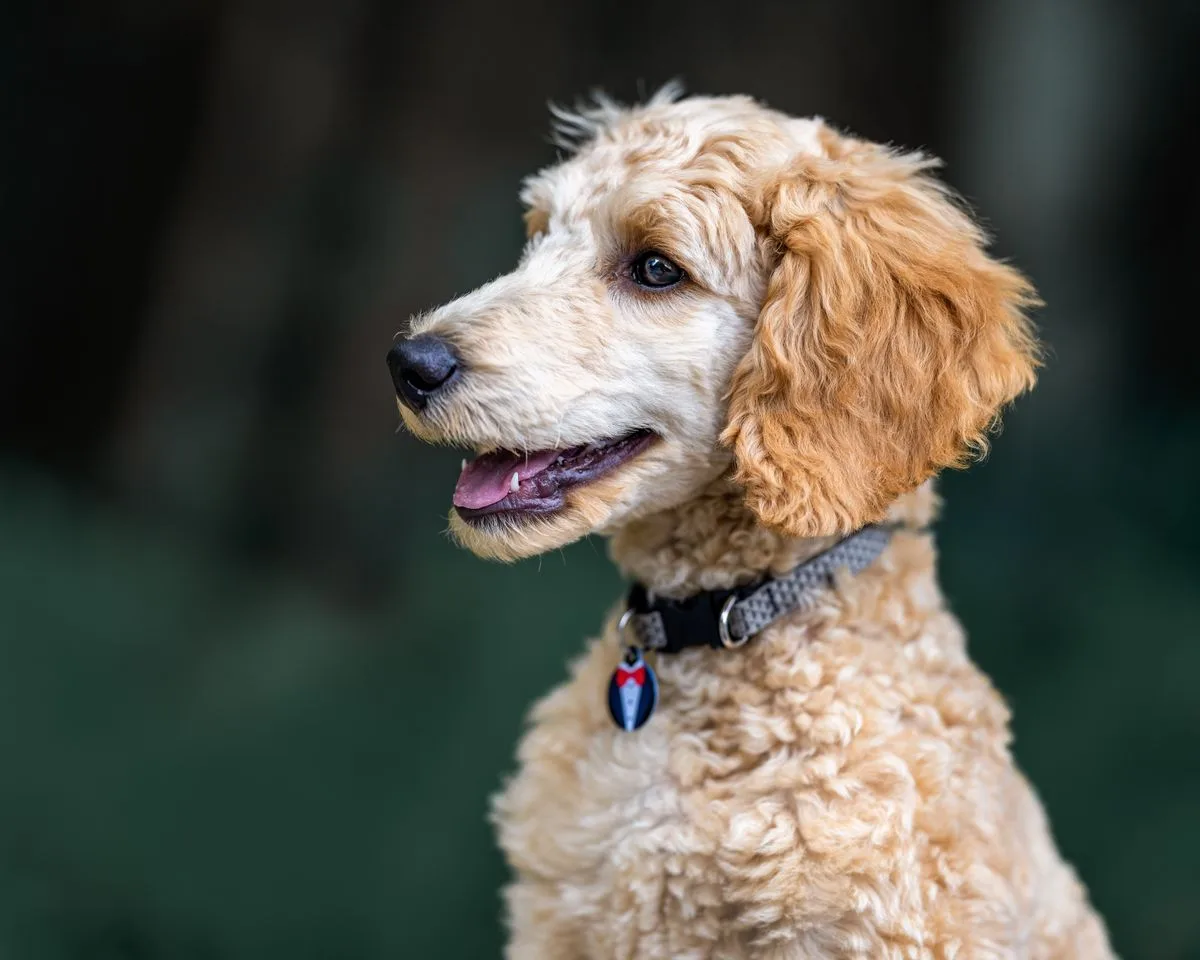
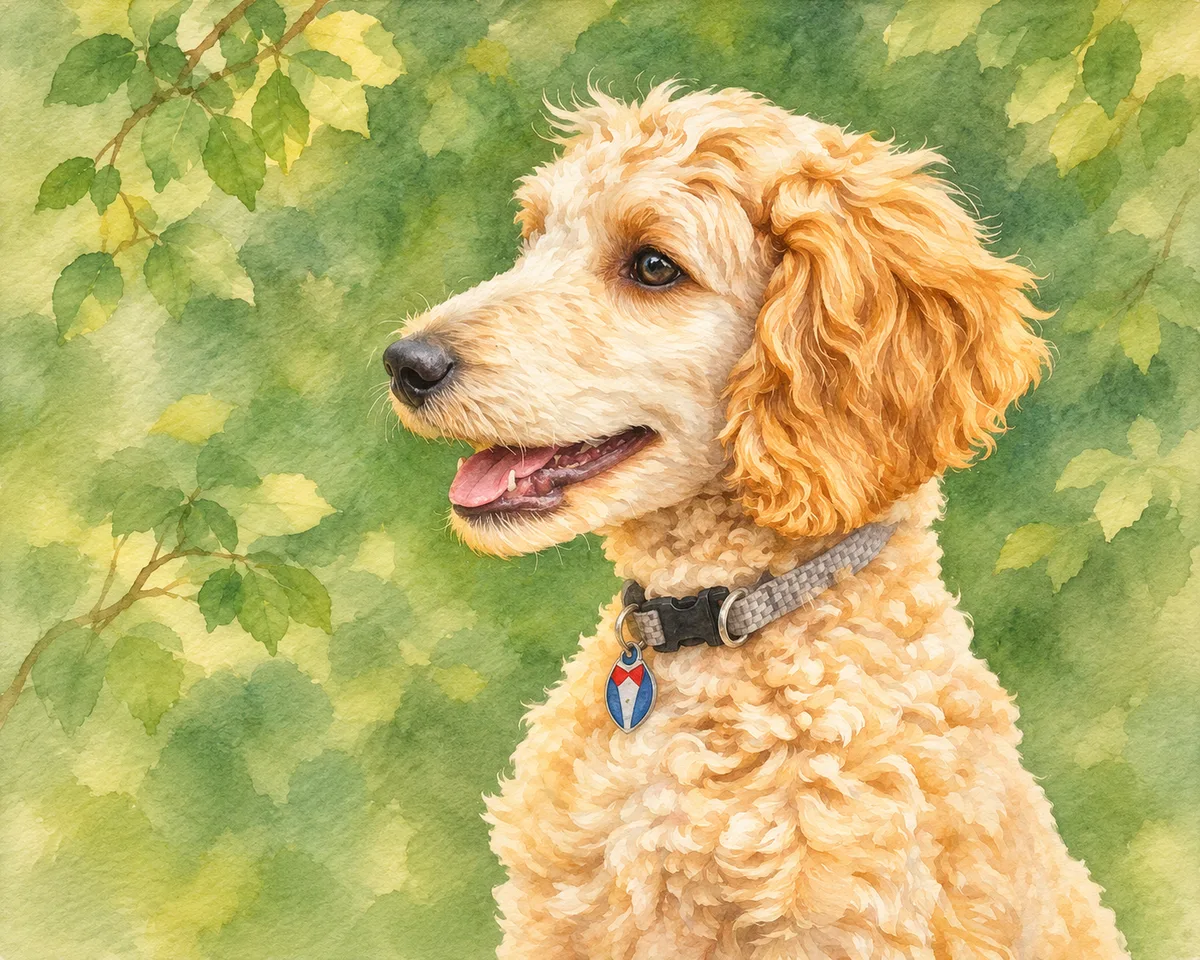
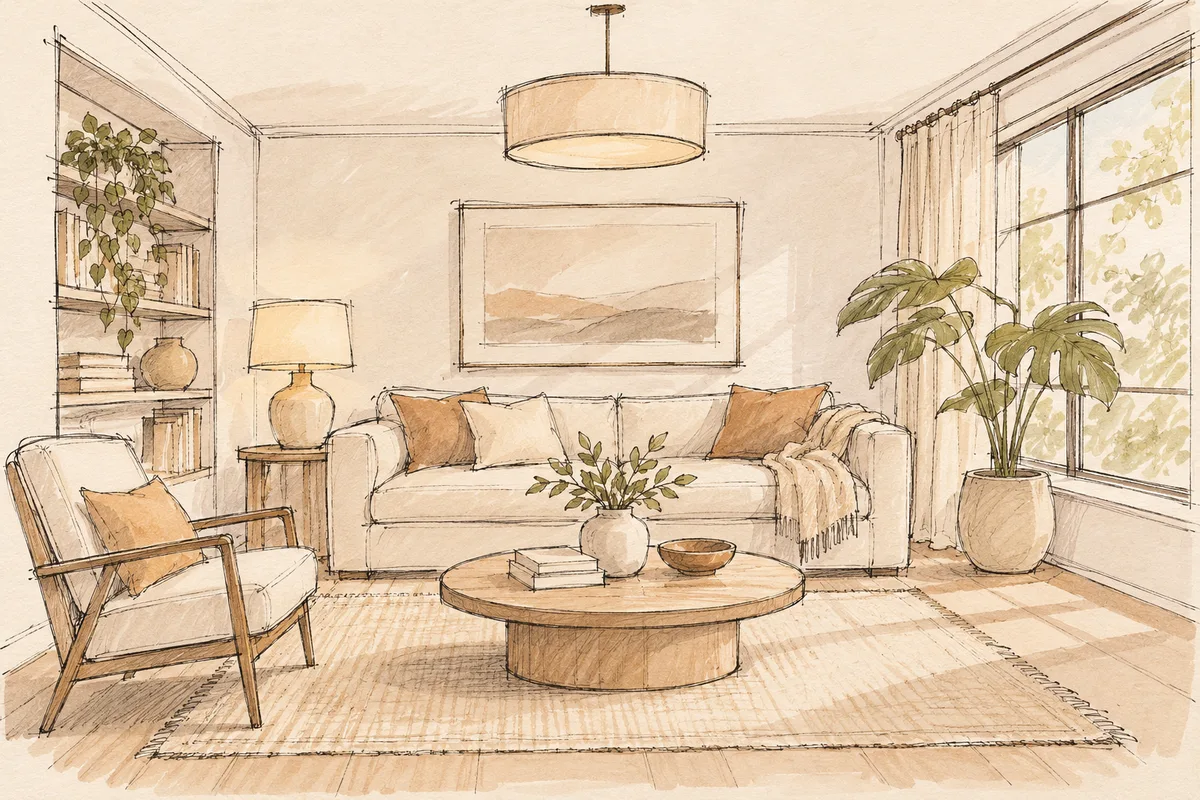
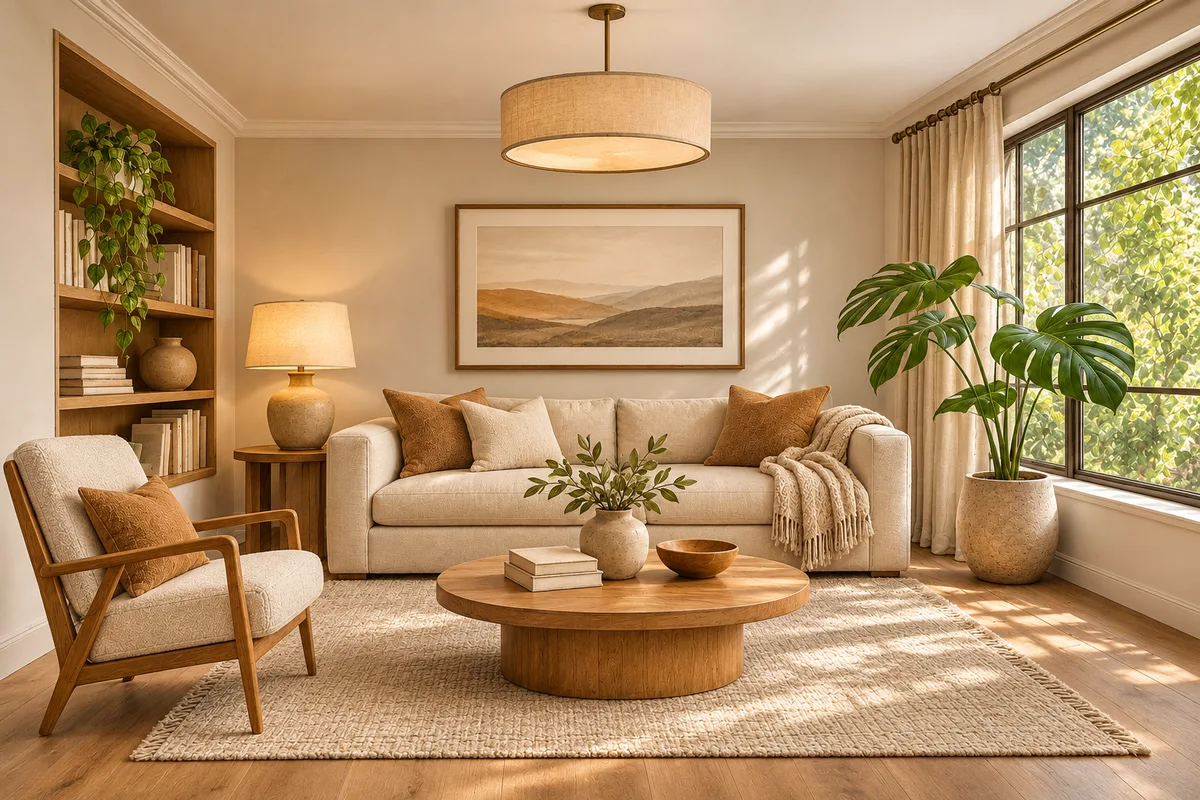
1. Start with a reference that supports your goal
Choose an image with the subject or structure you want the model to use. A clear photo is useful for preserving a person, pet or product. A sketch can communicate shape and layout. A room image can anchor the arrangement while you change its style.
PomiGen accepts JPEG, PNG and WebP images up to 10 MB each, with up to five reference images. Begin with one image when you are learning the workflow. Add more only when each image has a distinct role, such as one for the subject and another for visual style.
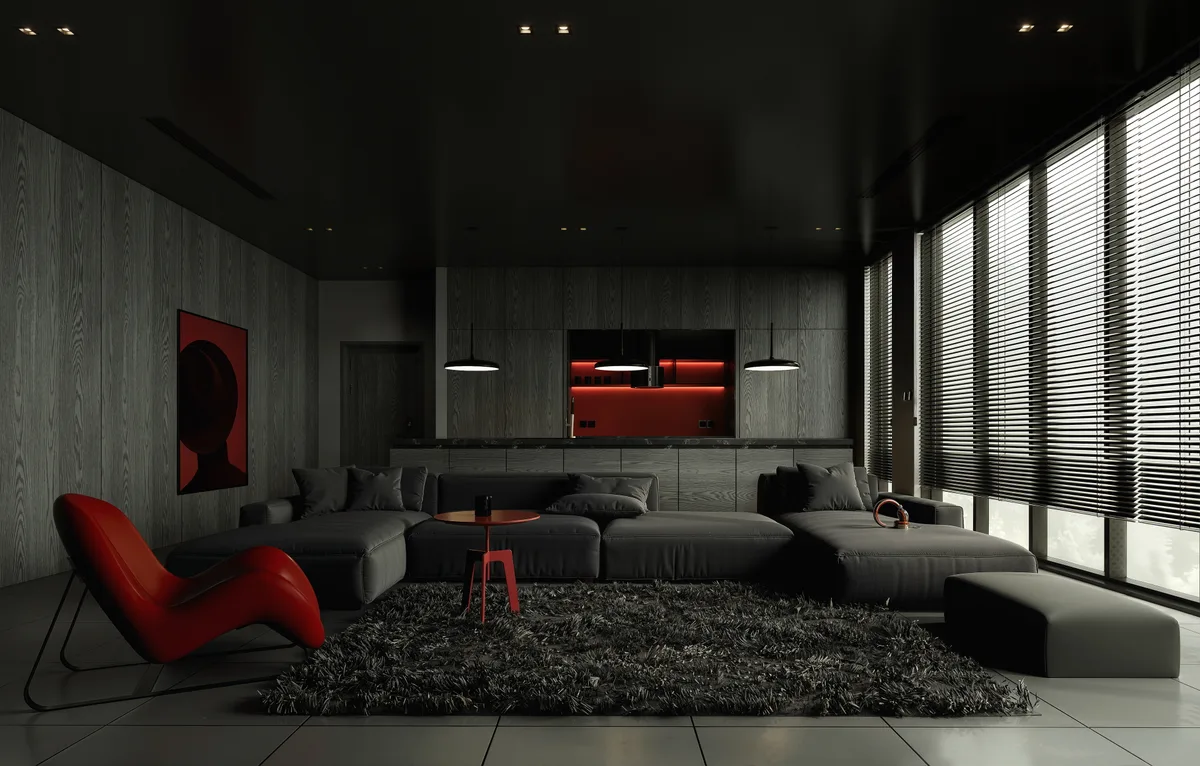
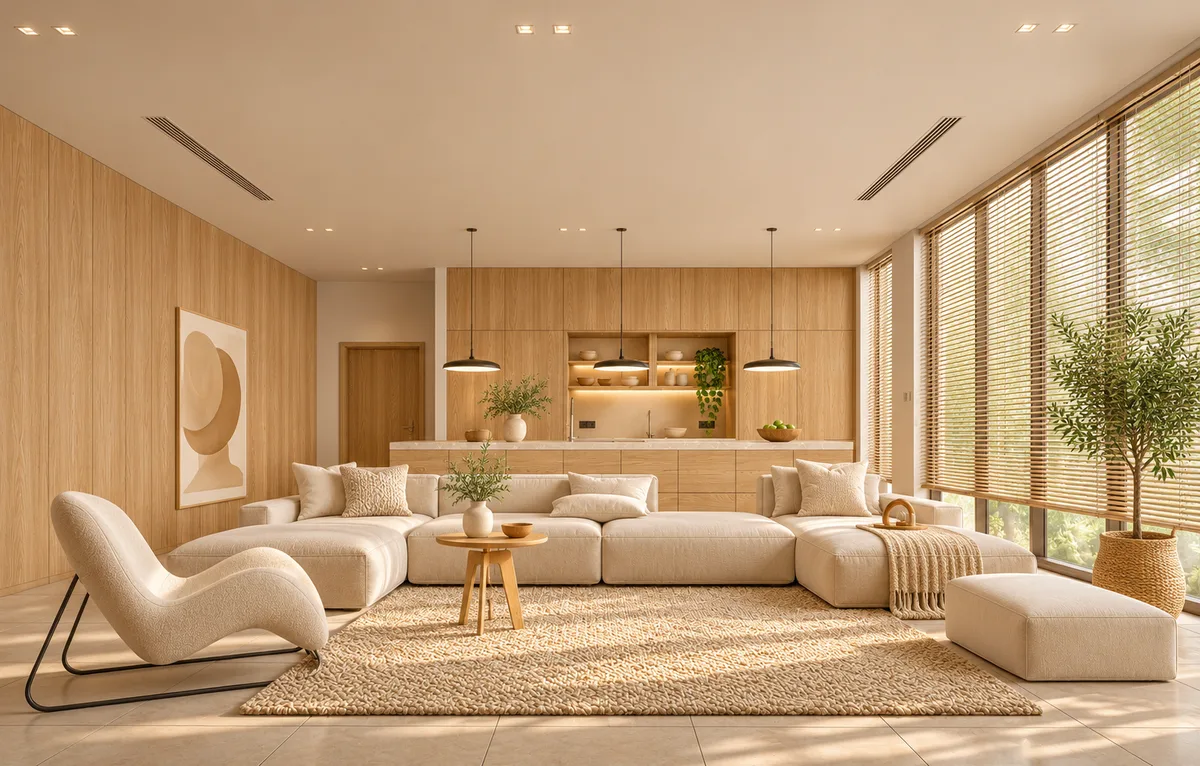
2. Decide what should change and what should stay
A focused instruction names the target, the intended change, and the details to preserve. For example:
01 · REFERENCE
The room layout
Use the image to anchor the composition.
02 · CHANGE
Make it warm and modern
Describe the new style or treatment.
03 · PRESERVE
Keep windows and furniture placement
Name the elements that should remain.
Restyle this living room with warm natural materials and soft afternoon light.
Keep the window positions, sofa layout and camera angle from the reference.
Avoid vague requests such as “make it better.” If the first result changes too much, specify the important structure or features more directly. For a local object edit, the AI photo editing guide explains how to use a brush selection.
3. Add references with clear, separate roles
When you use more than one reference, state what each one contributes. For example, ask the model to use the first image for the subject and composition and the second for color palette or material inspiration. Similar, compatible references are easier to interpret than images that contradict one another.
A reference guides generation; it does not lock every pixel. Small details, text, faces and edges can change, so inspect the output when fidelity matters.
4. Choose a model and resolution for the task
Select an available model and resolution in the editor. The displayed credit cost depends on the current settings. A larger resolution does not automatically improve instruction-following, so first check whether the composition and requested transformation are right. Then choose output size for your intended use.
5. Review the result and adjust one thing
Compare the result with the reference. Check the main subject, layout, distinctive features, edges, lighting and any small text or logos. If the overall direction is wrong, revise the style or transformation. If the direction is right but one detail drifted, name that detail and keep the next prompt focused.
Start a new variation from the original reference when you want to compare different directions. This makes it easier to see which instruction produced the change.
| Goal | A useful starting point |
|---|---|
| Change the overall visual style | One clear reference and a style-focused prompt |
| Explore a product or room variation | Name the materials, colors and structure to preserve |
| Turn a sketch into a finished concept | Use a clean sketch and describe the intended medium and finish |
| Remove or replace an object | Identify the object and describe the surrounding area to keep consistent |
| Keep every pixel unchanged outside an edit | Use a layer or pixel editor with explicit compositing controls |
Common problems and what to try
| What happened | What to try |
|---|---|
| The result ignores the reference | State which subject, layout or features the reference should guide. |
| Too much of the image changed | Name the elements to preserve and request one main transformation. |
| The result barely changed | Describe a more specific style, material, setting or action. |
| Text or a small logo looks wrong | Avoid relying on generation for exact lettering; add or correct it in an editor. |
| Several references conflict | Use fewer images and assign each one a clear role. |
Frequently asked questions
What is image-to-image generation?
It generates a new image using an existing image as visual input, together with a text instruction. It differs from text-to-image, which starts from a written description alone.
Can I preserve the original image exactly?
No. A reference can guide the result, but generated output may change details throughout the image. Use a conventional editor when exact pixel preservation is required.
How many reference images should I use?
Start with one. You can add up to five, but each should contribute useful information, and the prompt should explain their roles.
Does a larger output resolution make a better result?
Not necessarily. It changes output dimensions and may affect cost, but a clear reference and instruction are still important. Check the current cost in the editor.
Try image to image
Choose one reference image, describe one meaningful transformation, and name the details that should remain. Review the result before trying another direction.