How to Turn a Photo into Cartoon Art with AI
Learn how to choose a cartoon style, use a style reference, and keep the subject recognizable when turning a photo into cartoon art.
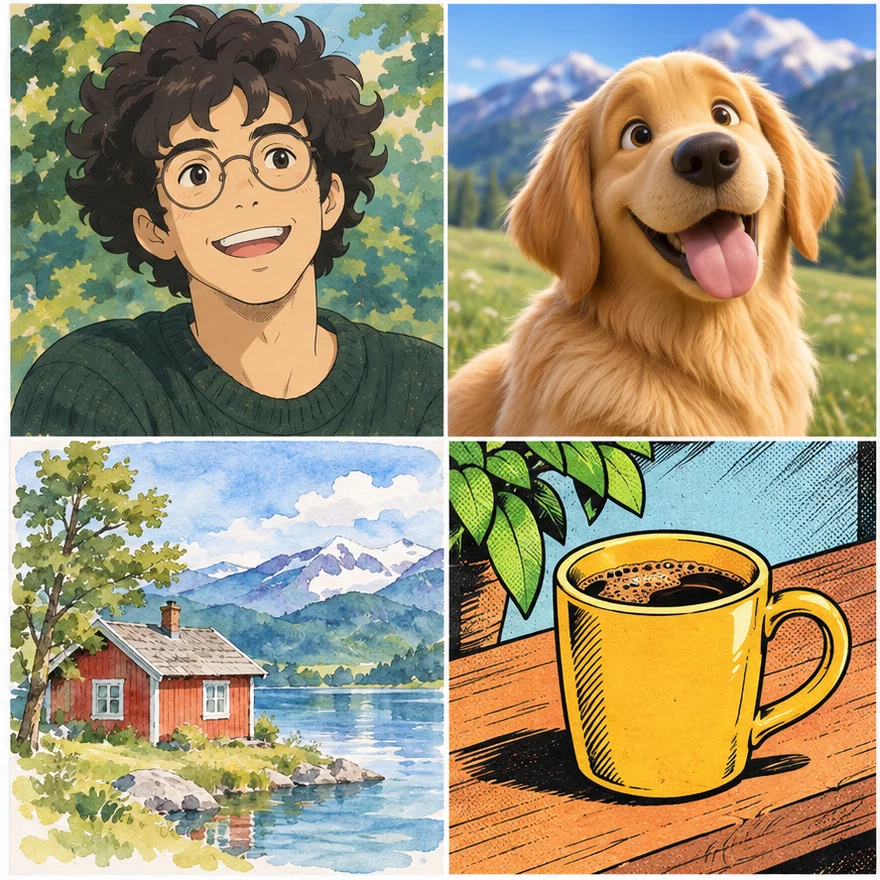
Turning a photo into cartoon art starts with two choices: the photo you want to transform and the style you want to apply. PomiGen’s photo-to-cartoon tool offers styles such as 3D animation, anime, manga, watercolor, pixel art and storybook, plus an option to upload a style reference.
This guide explains how to choose a style, prepare a photo, and describe what should stay recognizable. Results vary by image and model, so treat the examples as guidance rather than a promise of an exact likeness.
Photo transformed into cartoon styles
1. Choose a photo with a clear subject
Use a sharp, well-lit photo where the main subject is easy to identify. A face that is not hidden and a simple background give the model clearer visual information. The tool accepts JPEG, PNG and WebP images up to 10 MB; start with one photo.
Before uploading, make sure you have permission to use the image. Avoid photos with sensitive information you do not want to share.
2. Pick a cartoon style for the result you want
Open the photo-to-cartoon tool and choose a style. The available options include 3D Animation, Anime, Ghibli, Manga, Comic Book, Watercolor, Pixel Art, Pop Art, Classic Cartoon and Storybook. Each style changes line work, color, texture and level of realism.
Think about the intended use. Watercolor or Storybook can feel softer; Comic Book and Pop Art use bolder shapes; Pixel Art gives the image a deliberately simplified grid. These are visual directions, not guaranteed technical presets, so review the generated result.
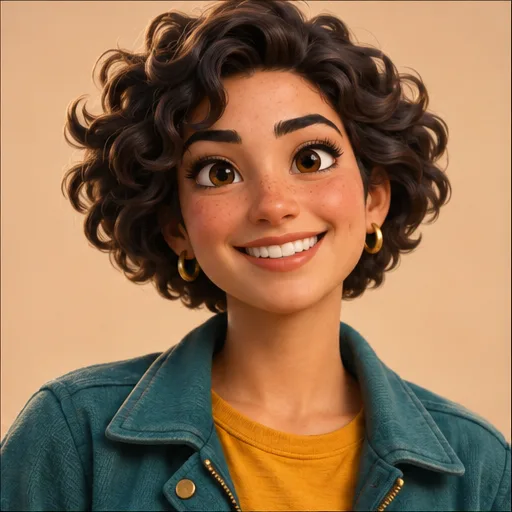
3D Animation
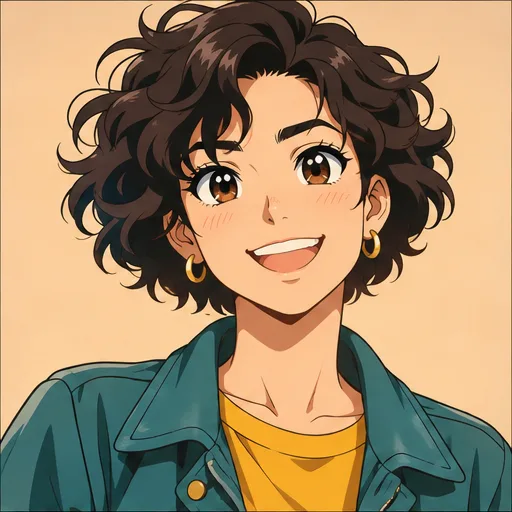
Anime
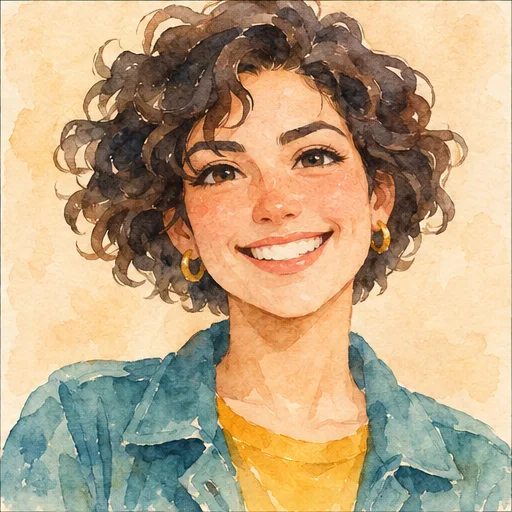
Watercolor
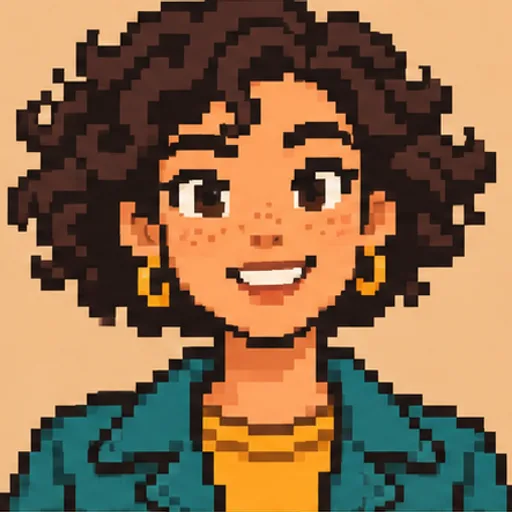
Pixel Art
3. Use a style reference when presets are not enough
You can upload a second image as a style reference. Choose an image that clearly shows the visual treatment you want, and avoid mixing several unrelated styles in one reference. The first photo supplies the subject and composition; the reference guides the look.
A reference guides the model but does not copy every detail exactly. Use images you have rights to use, and do not expect a reference to guarantee a particular artist’s exact style or a pixel-for-pixel result.
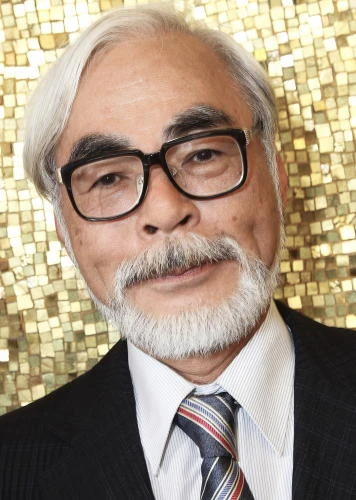
Source photo
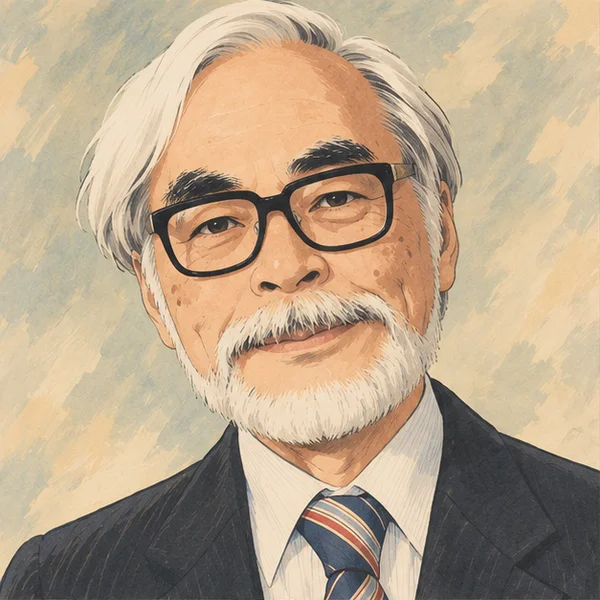
Cartoon result
4. Keep the prompt focused on identity and composition
The selected style sets the broad direction. Use your prompt to clarify what matters in the source photo: who or what the subject is, their expression or pose, and which parts of the scene should remain. For example:
Turn this portrait into soft watercolor cartoon art. Keep the person's
short curly hair, round glasses, warm smile and shoulders-up composition.
Use a simple pale blue background.
For a pet, name its markings and pose. For a product, specify its silhouette, label and colors. Avoid stacking many unrelated changes into the same request; a focused prompt makes the result easier to assess.
5. Generate, compare and refine one detail
Generate a version and compare it with the source. Check whether the subject is still recognizable, the expression and pose make sense, and important colors or markings remain. If one detail drifted, return to the original and make a narrower request rather than adding many corrections at once.
Try a different style when the overall look is wrong. Adjust the prompt when the style is close but a specific feature needs attention. Each generation uses credits according to the selected model and settings; check the editor’s displayed cost before trying variations.
Common problems and what to try
| What happened | What to try |
|---|---|
| The subject looks unlike the original | Use a clearer source photo and name distinctive features to preserve. |
| The background became too busy | Ask for a plain background or name the scene elements to keep. |
| The result looks too realistic or too abstract | Choose a more suitable style and describe the desired level of simplification. |
| A small marking or accessory disappeared | Mention it in a focused prompt; small details may still change. |
| The style reference affected the subject too much | Use a reference with a clear style and a prompt that restates the source subject and composition. |
Frequently asked questions
Can AI keep a face exactly the same?
No. You can ask it to preserve identity and distinctive features, but generated images may change facial details. Compare the result with the original.
Can I choose my own cartoon style?
Yes. Choose one of the built-in styles or upload a style reference. The reference guides the result but does not guarantee an exact reproduction.
Which photo works best?
A sharp, well-lit photo with a clearly visible subject is a good starting point. Simple backgrounds can make the subject easier to interpret.
Is turning a photo into a cartoon the same as image-to-image generation?
Photo-to-cartoon applies a cartoon direction to a source photo. The broader image-to-image tool supports many kinds of transformations, such as changing a scene, product or visual treatment.
Try a style on your photo
Choose one clear photo, select a style, and decide which features matter most. Generate one version, inspect it, then adjust a single detail if needed.